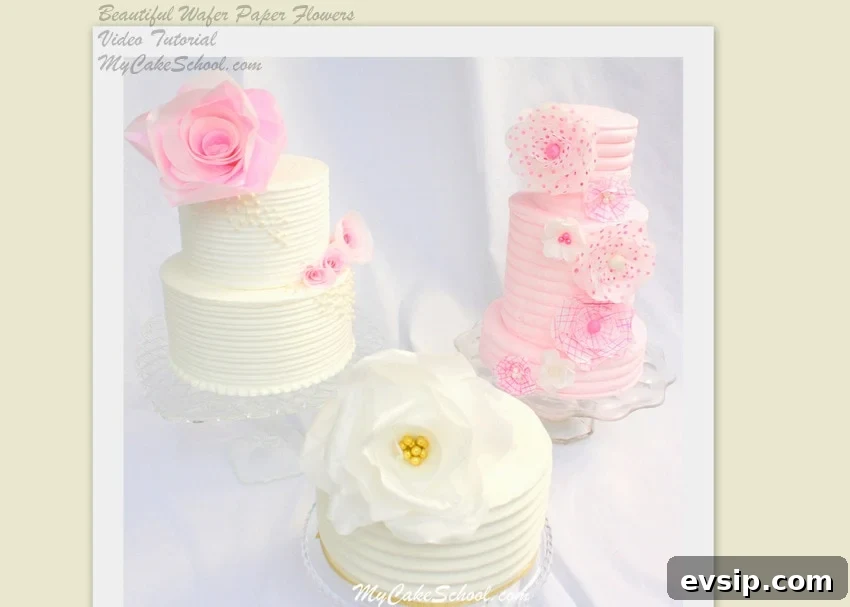
In this two-part video series, you will learn how to create beautiful wafer paper flowers for decorating cakes and confections.
Wafer paper is an edible, tasteless sheet made from potato starch, vegetable oil, and water. Its thin, delicate texture makes it ideal for crafting lightweight, realistic floral accents that add elegance to cakes without weighing them down.
With the techniques demonstrated in these videos, you can create an endless variety of petals, blossoms, and focal flowers. These methods focus on shaping, coloring, and assembling wafer paper so your finished pieces have natural movement and refined detail. The flowers shown in the tutorial were a joy to make, and the process lends itself to further experimentation with colors, edge treatments, and finishes. Enjoy the videos and try adapting the techniques to your own cake projects.
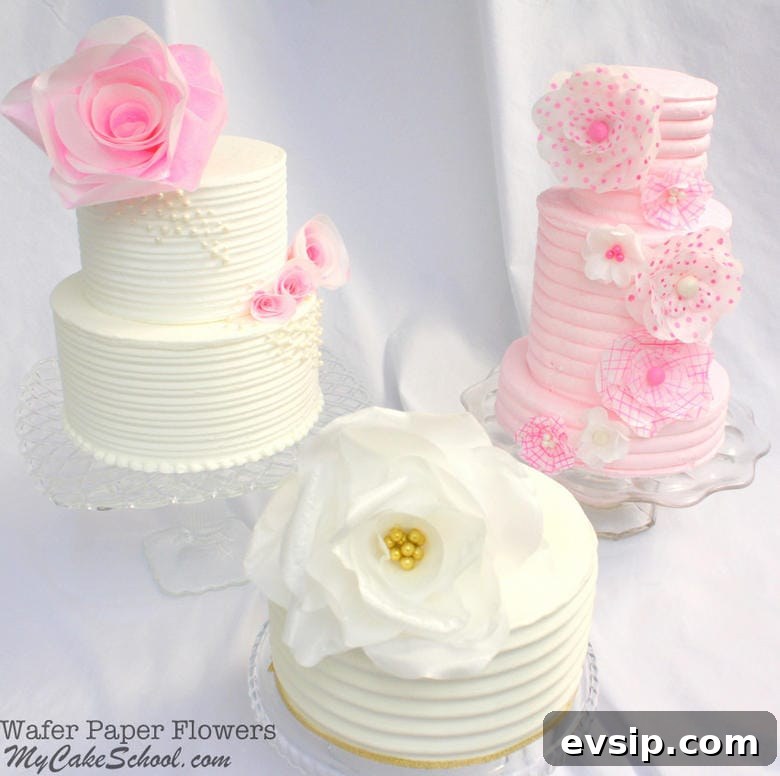
Table of Contents
Materials:
Note: In the video I used cake dummies frosted with a crusting buttercream (a high-ratio buttercream). For scale, the large white flower is shown on an 8″ round, the large pink rose spans two tiers of 8″ and 6″, and the three-tier cake displays 8″, 6″, and 4″ tiers.
Wafer Paper: Available from cake supply retailers and specialty baking shops. Sheets usually come in standard sizes and can be trimmed or punched into shapes. Wafer paper is thin and flexible when dampened, which allows for shaping petals and ruffles.
Circle Punch & Flower/Daisy Punch: Paper punches make cutting uniform petals quick and efficient. For the large white and pink flowers I used a 3.5″ circle punch for petal shapes, and a daisy-style punch for patterned blossoms. These tools are commonly found in craft stores; you can also cut shapes with scissors if preferred.
Water or Vodka: Used both as an adhesive and to soften wafer paper for shaping. Vodka dries very fast and leaves little moisture, while water is readily available and works well for most applications.
Coloring Gel: Gel colors provide strong, concentrated pigment for painting or tinting wafer paper. In the demonstration Americolor Deep Pink and Bright White were used to achieve vivid petal tones and highlights.
Dragees and Sugar Pearls: Optional decorative elements to finish flower centers or add sparkle to cakes. Small metallic dragees can be used as central accents, while sugar pearls create softer, classic centers.
Lollipop Sticks: Useful for mounting larger flowers to secure them to the cake or to work on petals while shaping and drying.
Scissors: A pair of sharp, fine-point scissors helps trim edges and refine petal shapes once the basic cut pieces are ready.
Paint Brushes: Small brushes are used for applying water or vodka to petals, painting color blends, adding veins, and forming subtle gradients on edges.
Fondant: Small fondant balls make easy centers for patterned flowers. They can be tinted, textured, or painted to coordinate with the overall design.
Piping Gel: Acts as an edible adhesive to attach fondant centers, dragees, or to secure layered petals to each other and to the cake.
Cake Combs (Optional): Used to texture buttercream surfaces. In the tutorial a set of Wilton-style combs helped create a finished backdrop for the wafer paper flowers.
Enjoy the Videos!
These tutorial videos guide you step by step through making a large focal flower, patterned blossoms, and simple roses that deliver dramatic, professional-looking results. Watch the demonstrations to see the techniques for cutting, coloring, shaping, and assembling wafer paper pieces into finished flowers.
Related video tutorials featured in the series (titles only):
Marbled Fondant Cake with Wafer Paper Flower
Gold Sequin Cake with Wafer Paper Flower
In Part One: Follow the process for creating a large statement flower and several patterned blossoms. The first video covers how to punch or cut petal shapes, how much moisture to apply for shaping, techniques for adding color and texture, and methods for assembling layers so the finished flower looks natural and balanced.
In Part Two: Learn to form graceful, simple roses using rolled and layered wafer paper petals. The second video demonstrates petal overlap, curling techniques, and tips for finishing the inner bud and outer petals to create a lifelike rose that holds its shape on the cake.
Whether you are new to wafer paper or looking to expand your decorating repertoire, these tutorials provide clear instruction and creative inspiration. Practice the shaping and coloring steps on a few spare pieces of wafer paper before committing to a final cake design. With a little experimentation you’ll find combinations of shapes, colors, and centers that suit your style and elevate your cake presentations.