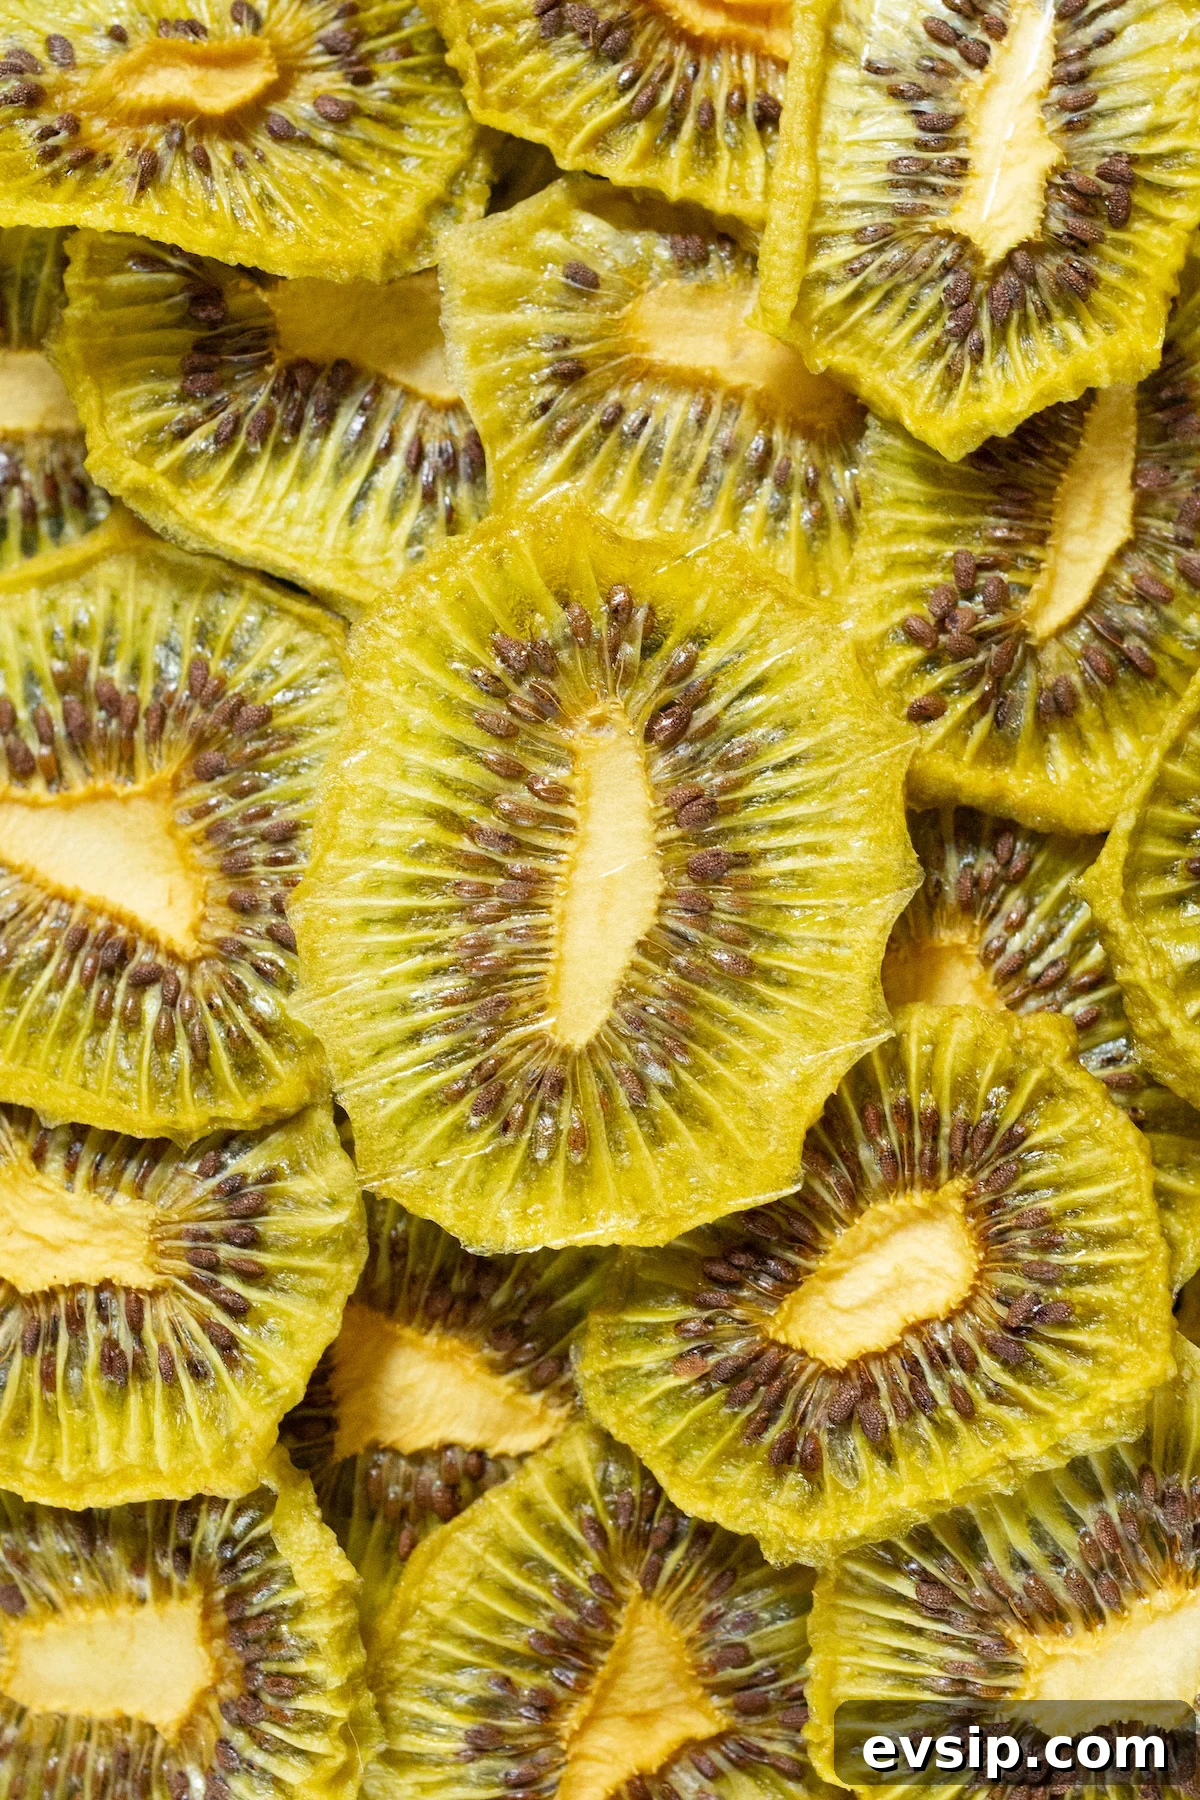
Dehydrated kiwi makes a delicious, nutritious snack that’s simple to prepare at home. Below are instructions for using either a food dehydrator or a conventional oven.
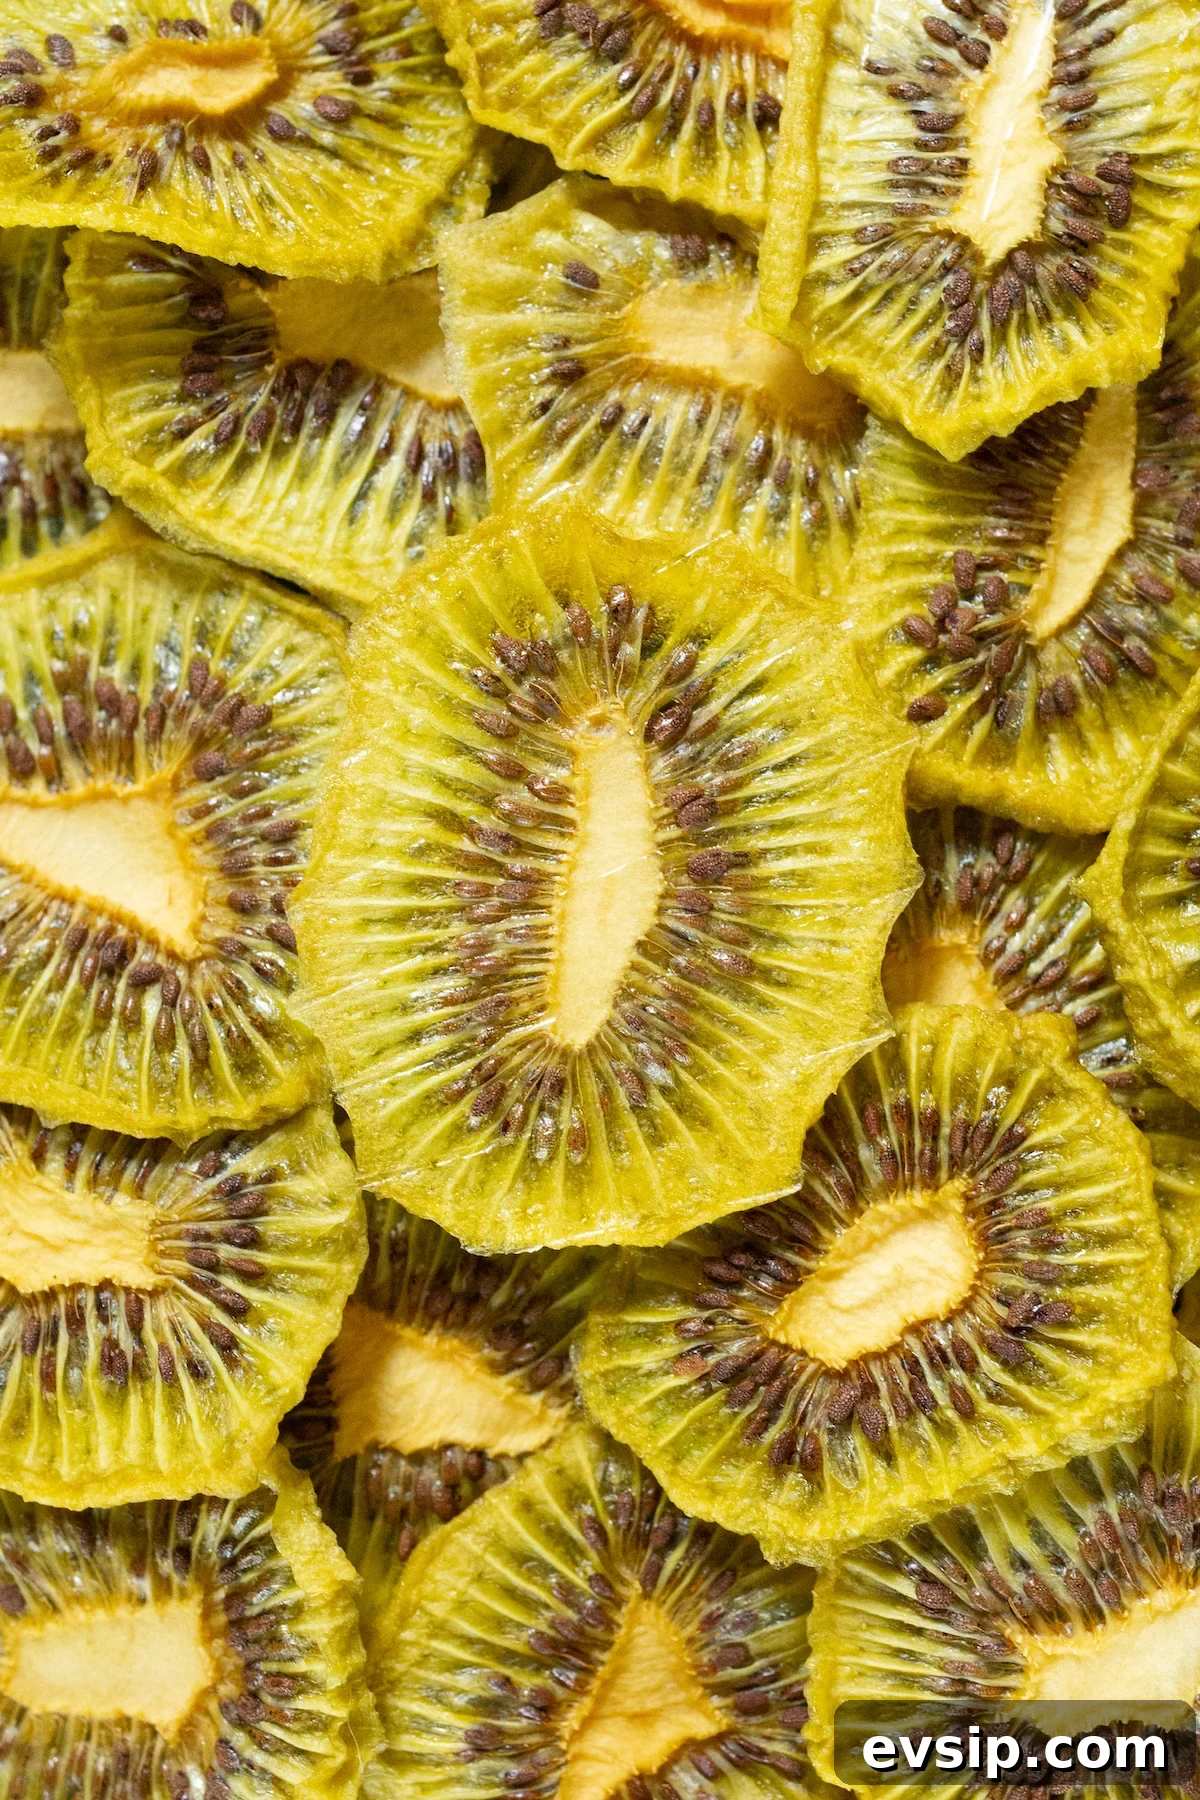
Dehydrating preserves the bright flavor and natural sweetness of kiwi while dramatically extending its shelf life. By removing most of the fruit’s water content, you transform soft, perishable kiwis into crisp, chewy chips that travel well and keep for weeks when stored properly.
I enjoy dehydrated kiwi chips as a quick snack, but they’re also an excellent topping for yogurt bowls, smoothie bowls, oatmeal, salads, and desserts. Their tart-sweet flavor adds a fresh tropical note without added preservatives.
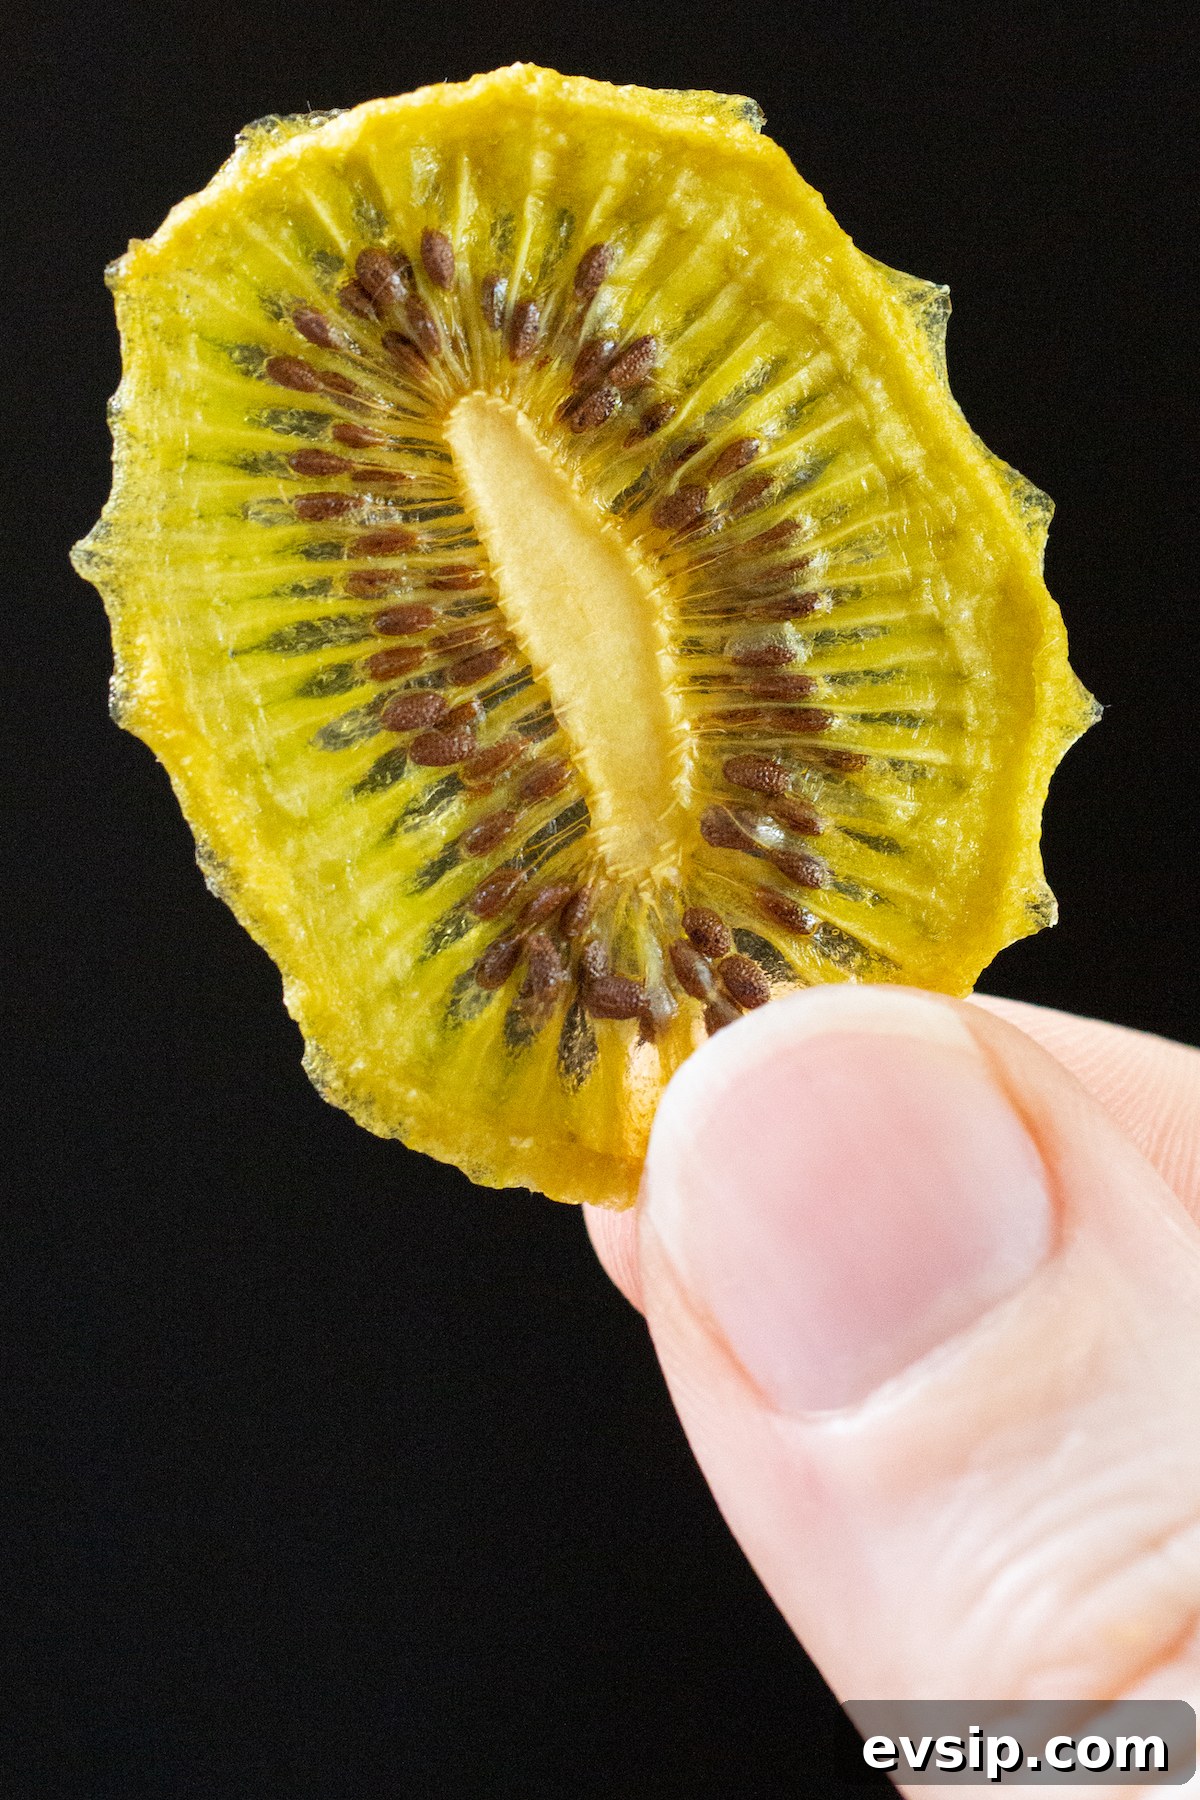
To make these chips you only need ripe kiwis, a sharp knife or slicer, and either a dehydrator or an oven. The basic technique is to slice the fruit into thin, even rounds and dry them slowly until they reach the texture you prefer—crispy on the outside and slightly chewy in the center.
This recipe is straightforward, requires minimal hands-on time, and yields a lot of tasty, wholesome snacks from just a few pieces of fruit.
If you don’t own a dehydrator, the oven method works well. A dehydrator tends to be more energy efficient and offers more consistent airflow, but an oven set to a low temperature will produce a comparable result if you check the fruit occasionally and rotate trays as needed.
Whether you’re aiming to reduce food waste, make a portable snack for hikes and lunches, or experiment with homemade fruit chips, dehydrated kiwi is an easy and rewarding option. Try it plain or lightly sweetened, and consider mixing these chips with other dried fruits for variety.
Ingredients
-
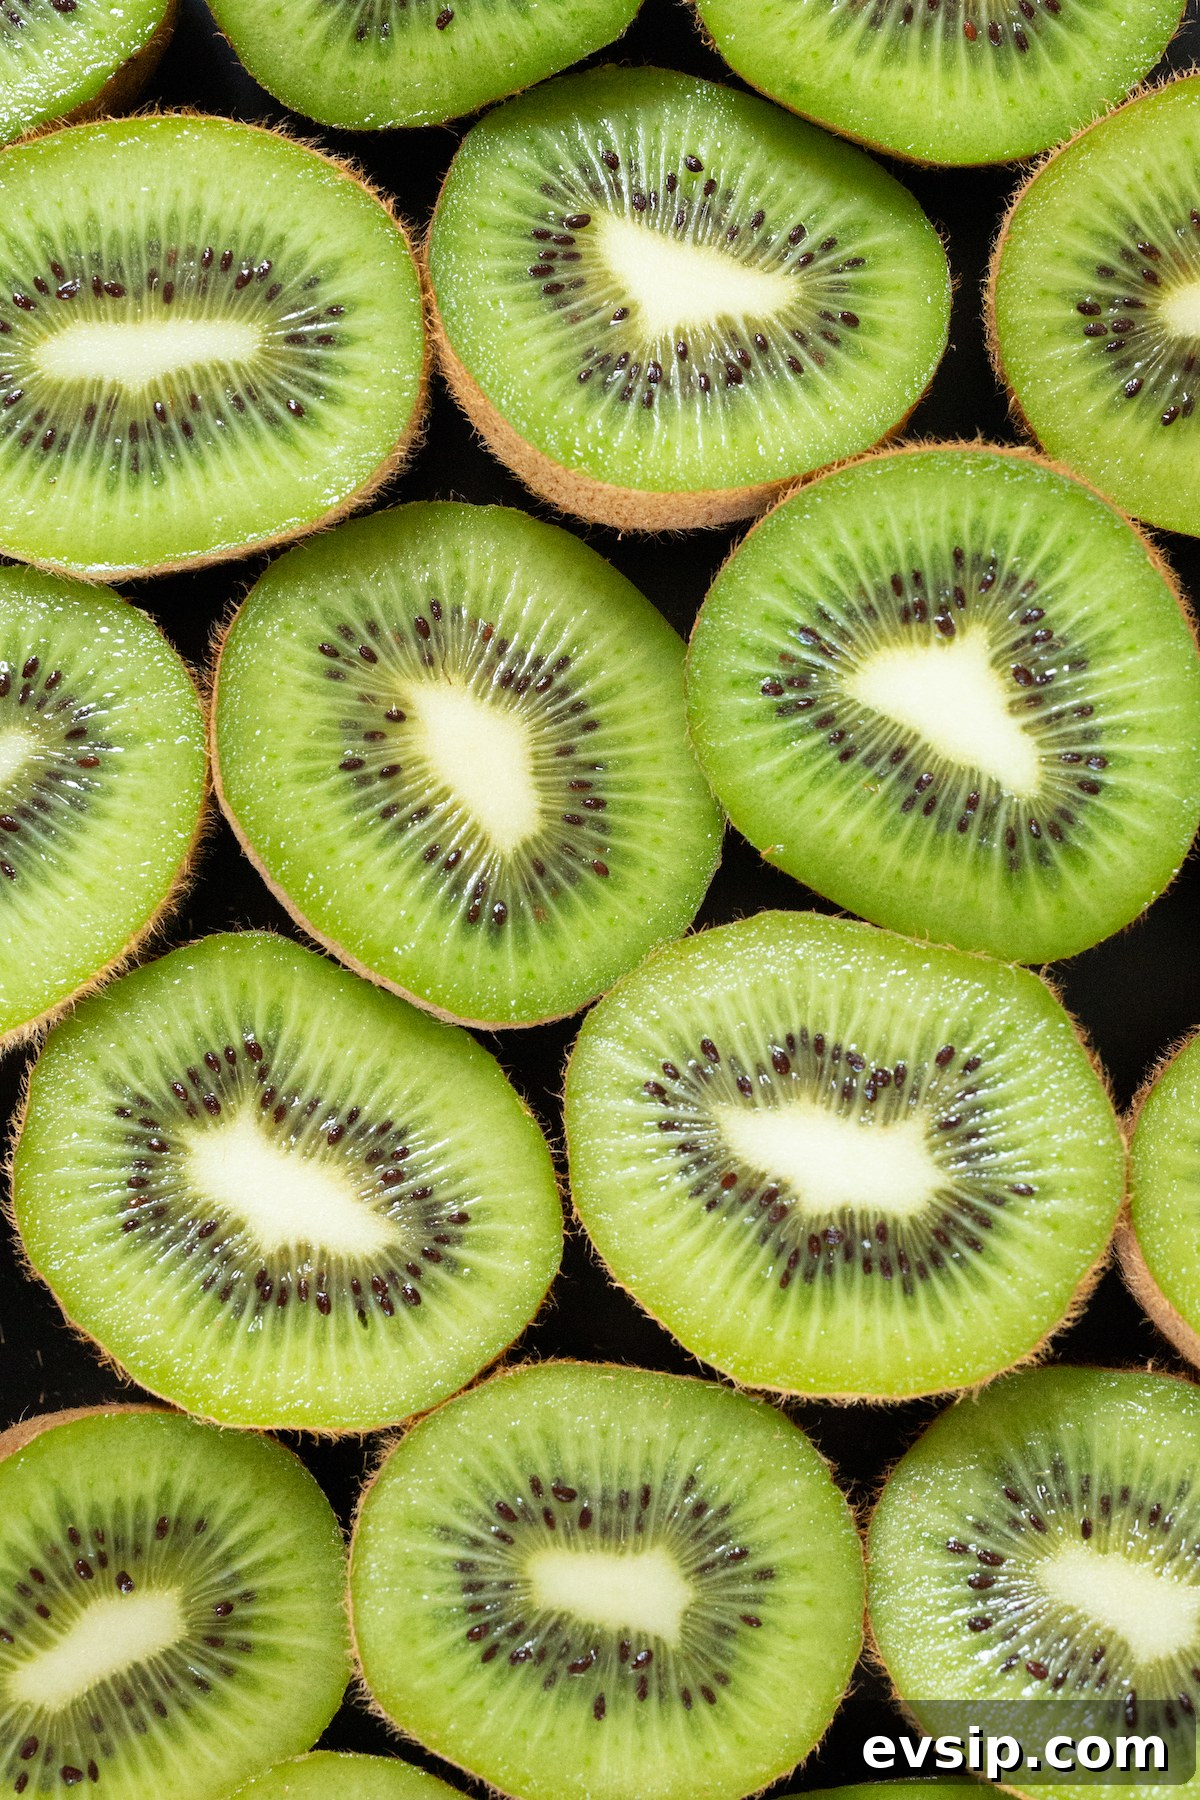
Kiwis – Any ripe kiwi will work. Both green and golden varieties dehydrate nicely.
-
Sugar (optional) – 1–2 tablespoons to toss with the slices if you prefer sweeter chips.
-
Lemon juice (optional) – A tablespoon or two helps reduce browning and brightens flavor.
How To Make
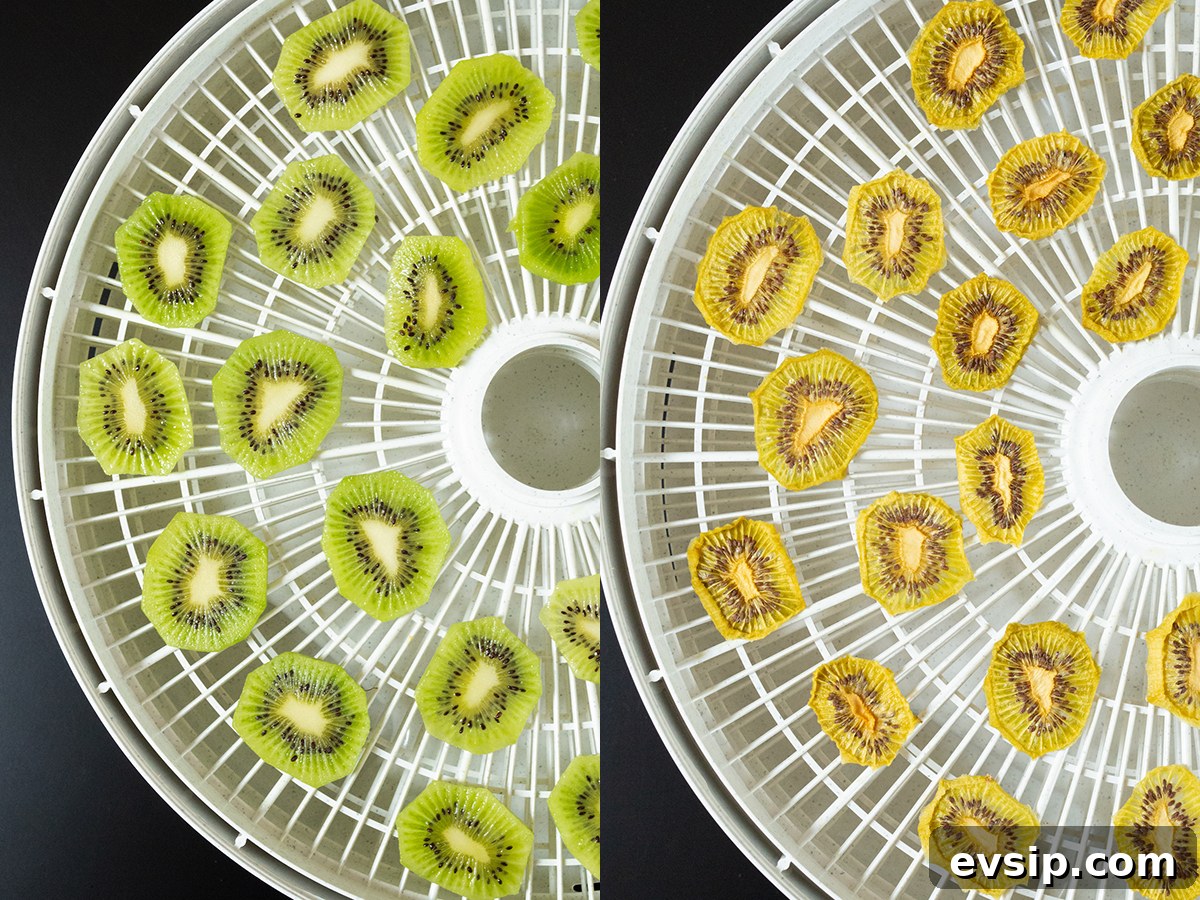
-
Wash and dry the fruit. Peel if you prefer a smoother texture, or leave the skin on for extra fiber and a chewier bite.
-
Slice the kiwis into uniform rounds about 1/4 inch thick. Consistent thickness helps them dehydrate evenly.
-
If using, toss the slices lightly with sugar or coat briefly with lemon juice in a bowl so they dry with an even flavor and color.
-
Arrange the slices in a single layer on dehydrator trays or on parchment-lined baking sheets if using an oven. Avoid overlapping so air can circulate freely.
-
Dry at about 135°F (57°C) for 6–8 hours, checking periodically. In an oven, set the temperature as low as it will go and prop the door open slightly for airflow; rotate trays if necessary. The kiwis are done when they are dry to the touch, slightly pliable, and not sticky.
-
Cool the chips completely before storing to prevent condensation inside the container.
Tips
-
Choose ripe fruit. Kiwis that yield slightly to gentle pressure are sweeter and produce better-tasting chips.
-
Slice evenly. Use a sharp knife or a slicer to keep rounds consistent so all pieces finish at the same time.
-
Use a single layer. Arrange the slices without overlap so they dry uniformly and don’t stick together.
-
Watch the final hour. Check textures near the end of the drying period to prevent over-drying; you want crisp edges with a bit of chew at the center.
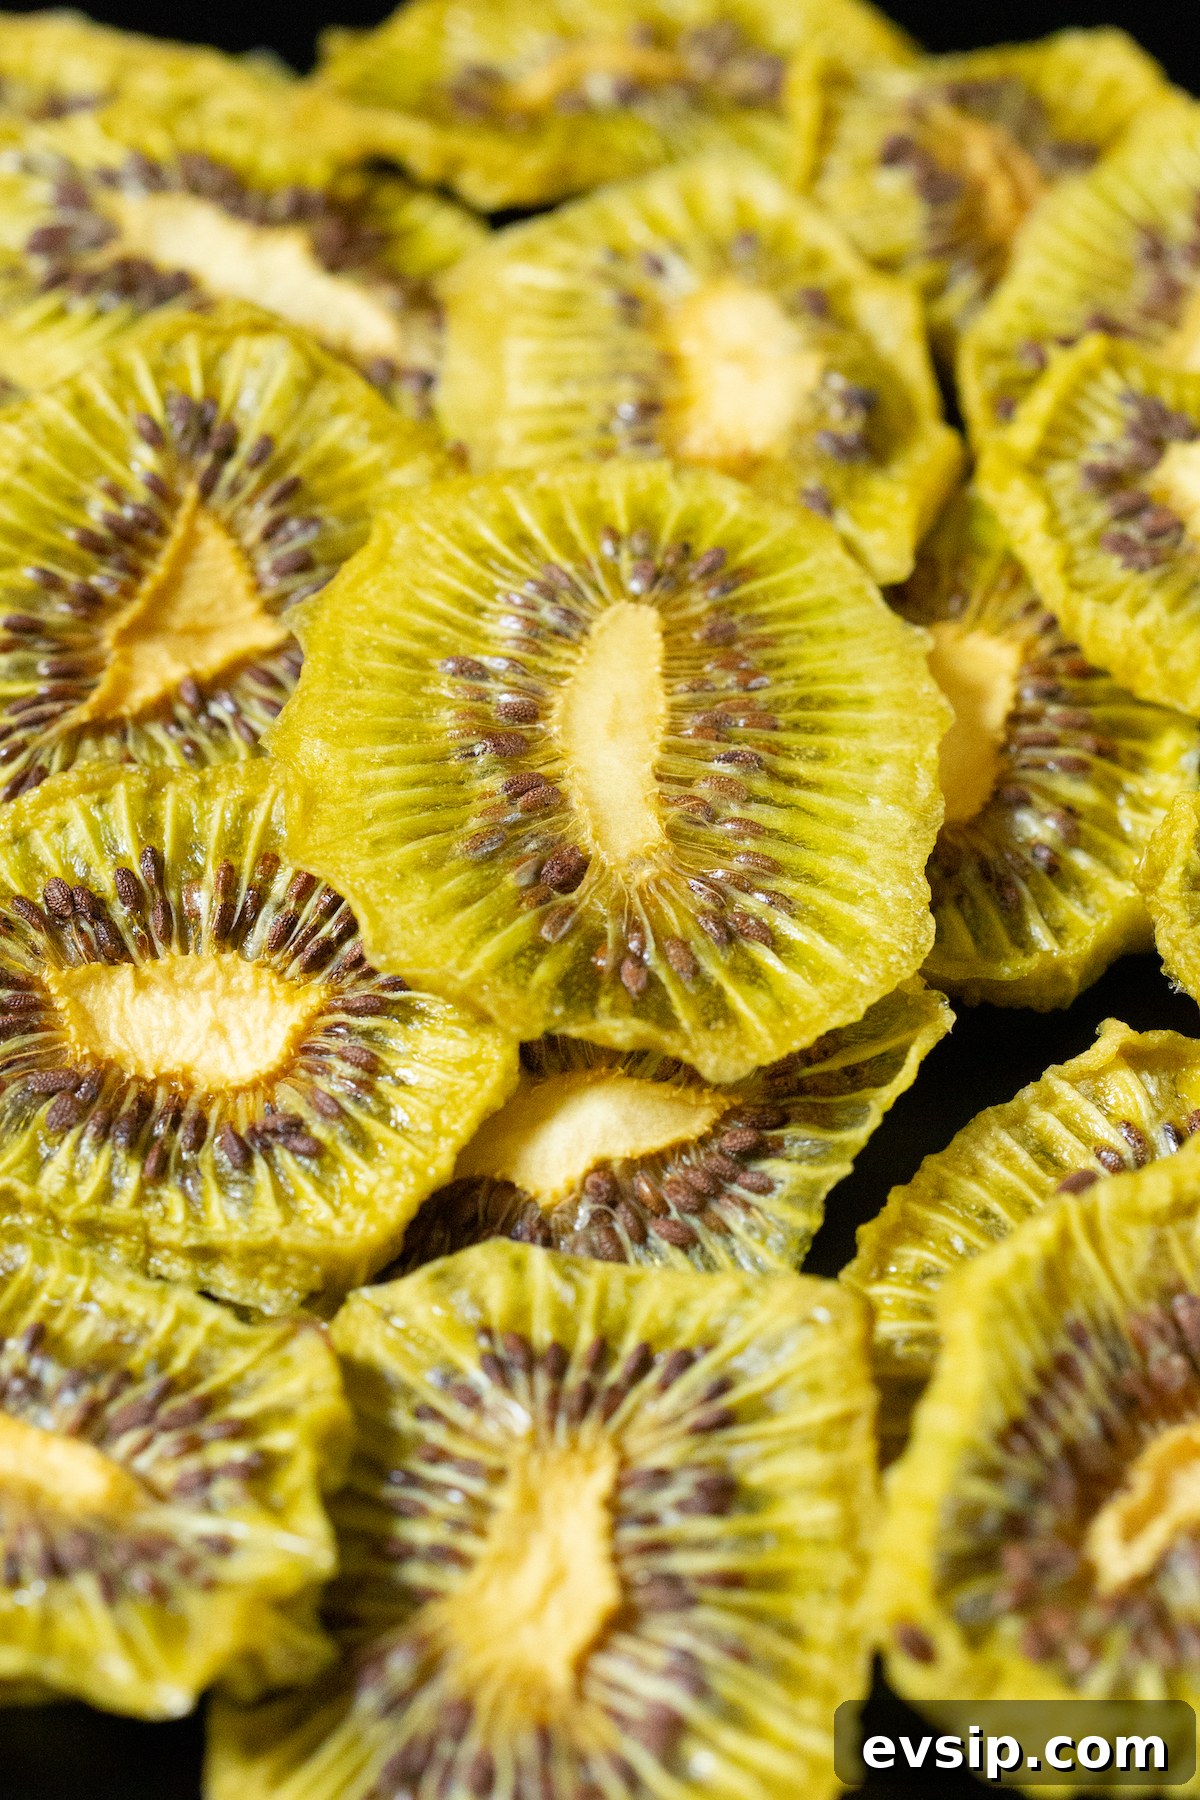
These kiwi chips pair well with other dehydrated fruits such as strawberries or dragonfruit if you want to create a mixed fruit snack. They also make a colorful, crunchy garnish for desserts and drinks.
Store finished chips in an airtight container at room temperature for up to a month, or refrigerate to extend their shelf life for several months. Proper cooling and dry storage are key to maintaining crispness.
Dehydrated Kiwis

Ingredients
- 8 Kiwis
- 1-2 Tablespoons Sugar, optional
- 1 Tablespoon Lemon Juice, optional
Instructions
-
Wash and dry the kiwis. Peel them if you prefer, or leave the skin on for added texture and fiber.
-
Slice the kiwis into 1/4″ thick rounds using a sharp knife or slicer for uniform thickness.
-
If desired, toss the slices with lemon juice and/or a light sprinkle of sugar to enhance flavor and reduce browning.
-
Arrange the slices in a single layer on dehydrator trays or on parchment-lined baking sheets for oven drying. Make sure pieces do not touch.
-
Dehydrate at approximately 135°F (57°C) for 6–8 hours, or place in a low-temperature oven and dry until the desired texture is reached. Monitor during the final hours to avoid over-drying.
-
Allow the chips to cool to room temperature before storing.
-
Store in an airtight container at room temperature for up to a month, or refrigerate to extend shelf life. Ensure chips are fully cooled and dry before sealing.